Brighten Your Home with DIY Painted Flower Pots
Looking to add a pop of color to your home decor? DIY painted flower pots are a simple and fun way to brighten up any room in your house. Here are some easy steps to creating your own painted flower pots.
Choose Your Flower Pots
Start by selecting plain terracotta or ceramic flower pots in various sizes. You can find these at any garden or home improvement store for a reasonable price. Make sure to clean them thoroughly with soap and water before painting.
Prepare Your Work Area
Cover your work surface with newspaper or a drop cloth to protect it from paint splatters. Set out your flower pots and gather your paint supplies, including acrylic paint, paint brushes, and a water cup for rinsing.
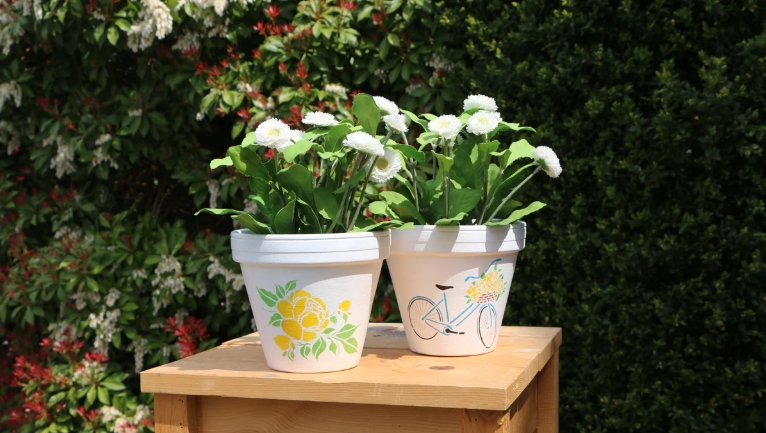
Design Your Pot
Use painter’s tape or stencils to create patterns or designs on your flower pots. Get creative and experiment with different colors and shapes to personalize your pots. Allow the paint to dry completely between each layer to prevent smudging.
Seal Your Design
Once you are satisfied with your painted flower pots, apply a coat of clear sealant to protect the paint from chipping or fading. This will also help to preserve your designs for longer-lasting decorations.
Plant Your Flowers
After the sealant has dried, fill your flower pots with soil and add your favorite flowers or plants. Display your beautiful creations around your home to add a touch of color and life to your space.
Enjoy Your DIY Project
Sit back and admire your handiwork as you watch your painted flower pots brighten up your home. This simple and inexpensive DIY project is a great way to showcase your creativity and add a personal touch to your decor.
In conclusion, DIY painted flower pots are a fun and easy way to add a pop of color to your home decor. With just a few supplies and a little creativity, you can create beautiful and unique designs that will brighten up any room in your house. Give it a try and see the difference it can make in transforming your space!